Be a Better Grower Newsletter
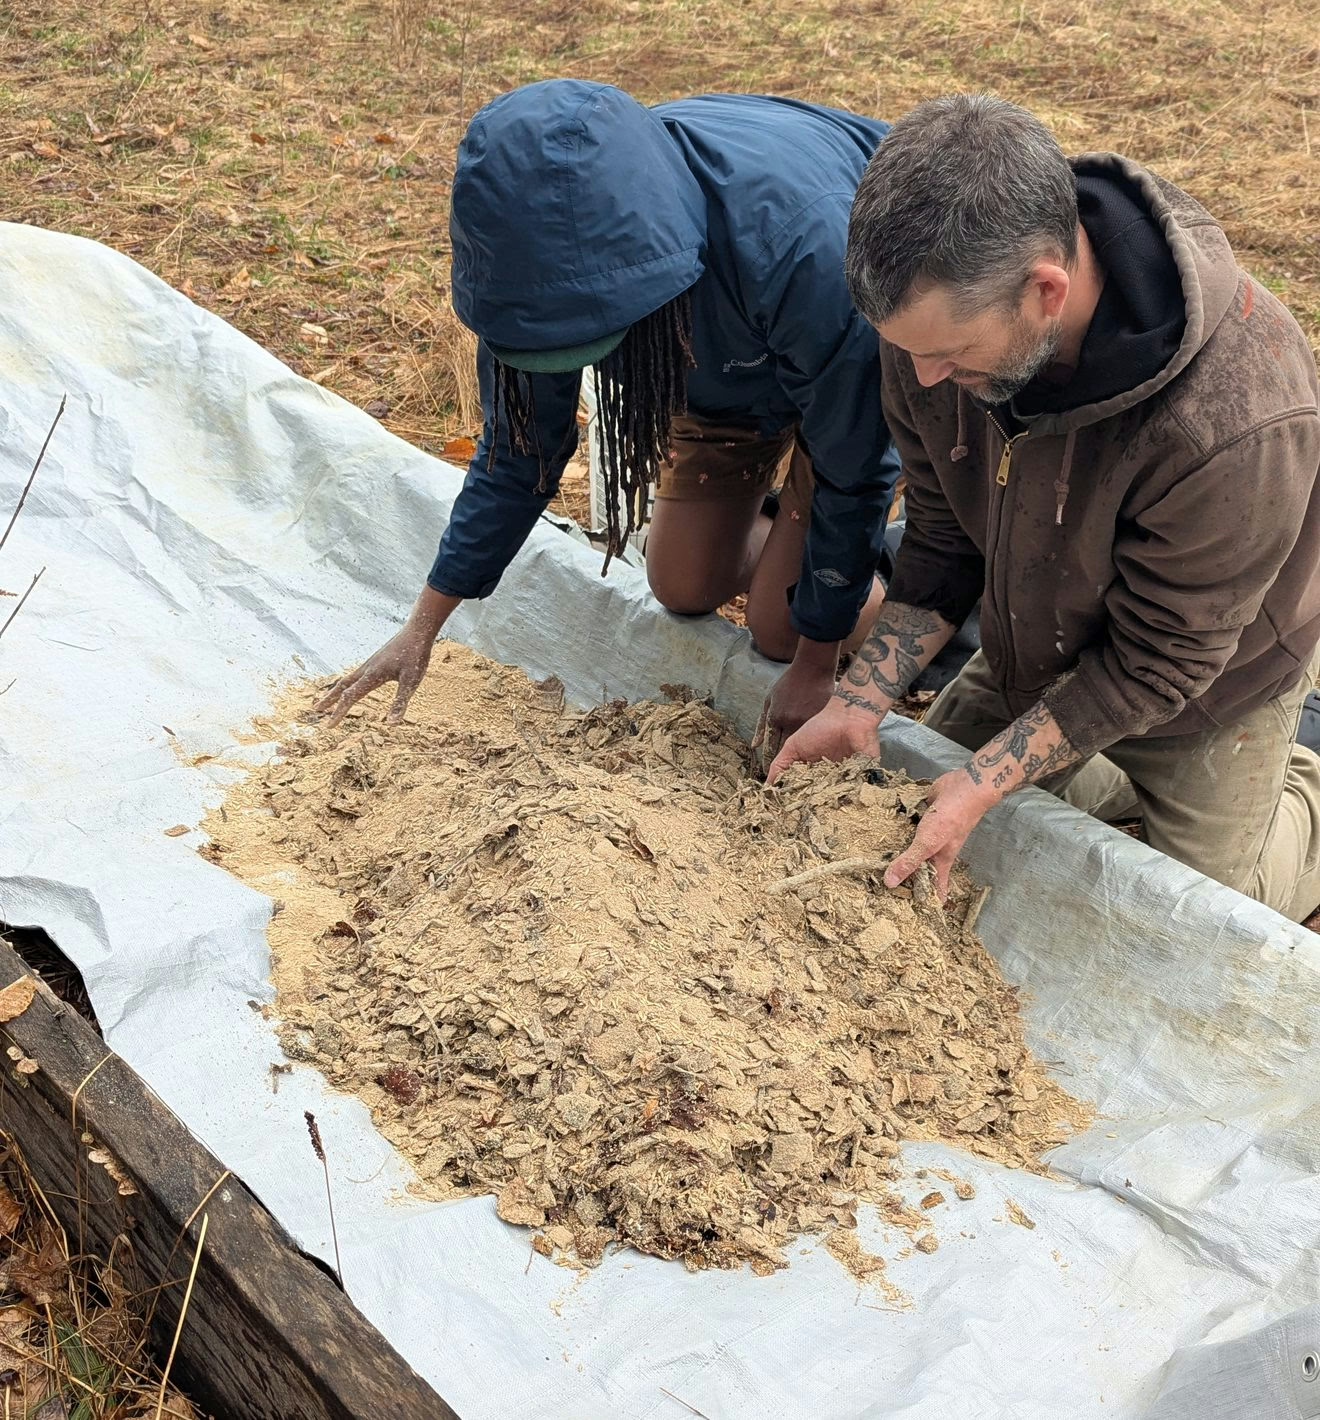
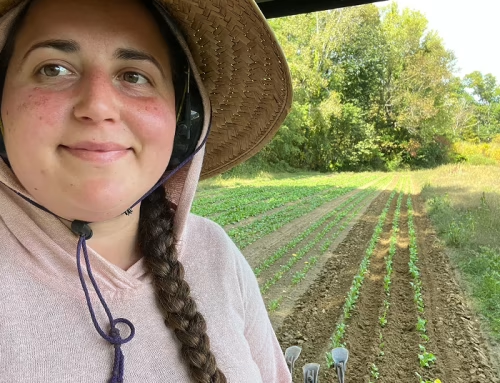
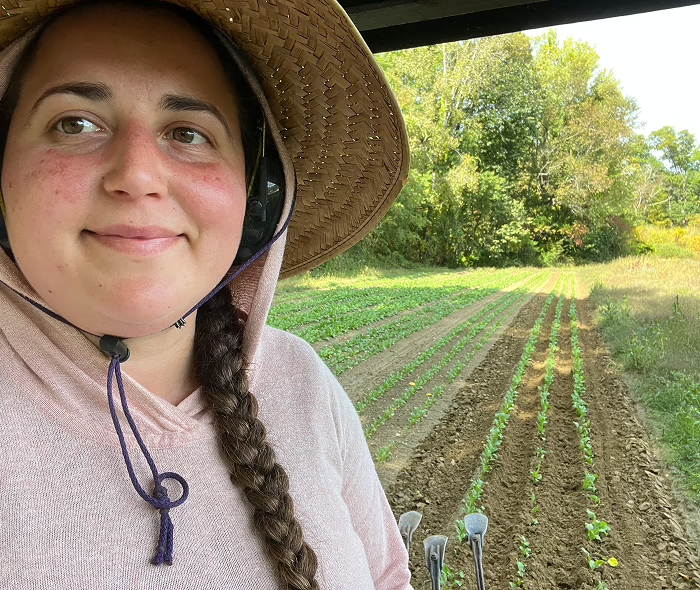
Farmers Dalila and Adrian, from Listening Skies in Plainfield, MA,
mixing Indigenous Microbes (IMO3) from the farm into carb and carbon sources
Healthy soils are living systems. Beneath our feet, diverse microbial communities regulate nutrient cycling, soil structure, plant health, and ecosystem resilience. As more farmers transition toward organic and regenerative practices, interest is growing in tools that support these biological processes directly—particularly biostimulants, biofertilizers, and on-farm biopreparations.
At their core, these inputs are not about replacing fertility programs, but about enhancing biological function. Biostimulants and biofertilizers work by stimulating microbial activity, improving nutrient efficiency, and supporting plant stress tolerance—often at very low application rates. Rather than acting as direct nutrient sources, they help unlock the soil’s existing capacity to feed crops.
What Are Biostimulants and Biofertilizers?
While definitions vary, these tools generally fall into two overlapping categories:
Biostimulants are biologically derived substances or organisms that stimulate plant and soil processes, improving nutrient uptake, photosynthesis, water efficiency, and resilience to environmental stress. Many biostimulants act primarily by feeding or activating soil microbes rather than supplying nutrients directly.
Biofertilizers are microbe-based inputs—either purchased or produced on-farm—that introduce or amplify beneficial microbial populations. These organisms can support nitrogen fixation, phosphorus solubilization, organic matter decomposition, and disease suppression.
Together, these approaches reflect a shift from “feeding the plant” to managing the soil food web.
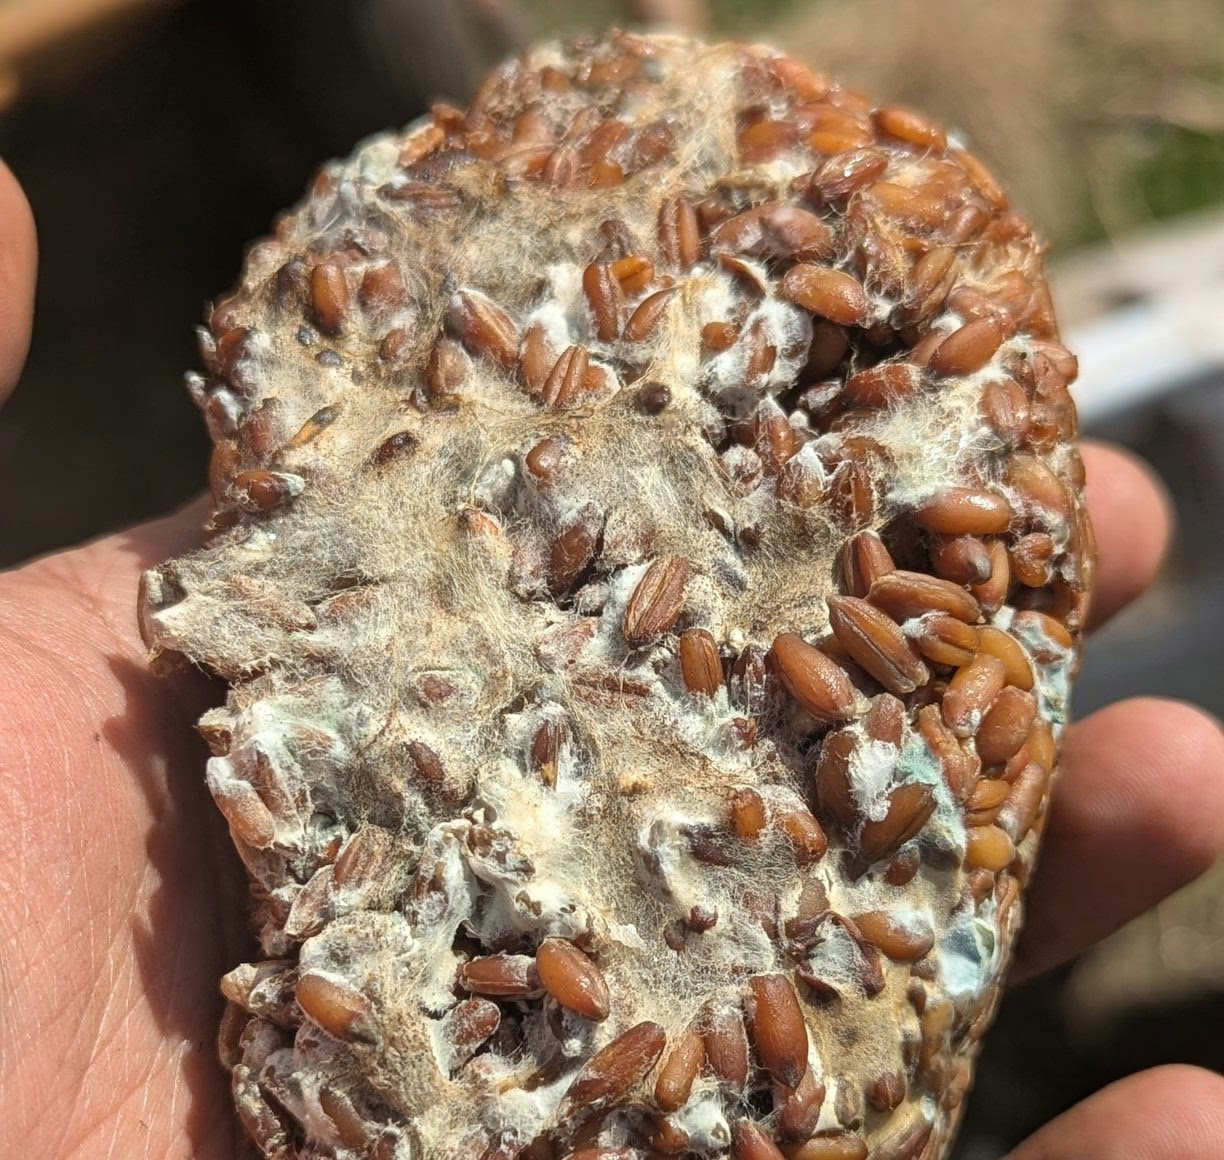
Trichoderma culture on organic rye as a biocontrol agent
A Global Practice, Adapted Locally
Farmers around the world have long relied on biologically driven fertility systems. Organic/natural farming practices such as Indigenous Microorganisms (IMOs), Effective Microorganisms (EM), Korean Natural Farming (KNF), JADAM, biodynamic preparations, and regionally adapted ferments all share a common principle: build biological capacity first.
In New England and other temperate regions, these ideas are increasingly being adapted to local soils, climates, and cropping systems. When done thoughtfully, on-farm biofertilizers can complement compost applications, cover cropping, reduced tillage, and organic nutrient management plans—especially during organic transition.
Best Practices for Supporting Soil Microbial Communities
Whether or not a farmer chooses to use biostimulants or biofertilizers, the foundation remains the same:
-
Maintain living roots as long as possible through cover crops and perennials
-
Minimize disturbance that disrupts fungal networks and microbial habitat
-
Provide carbon inputs that feed microbes, such as composts and residues
-
Match biological tools to soil conditions, rather than applying them blindly
Biological inputs are most effective when they are integrated into a broader soil health strategy, not used as stand-alone solutions.
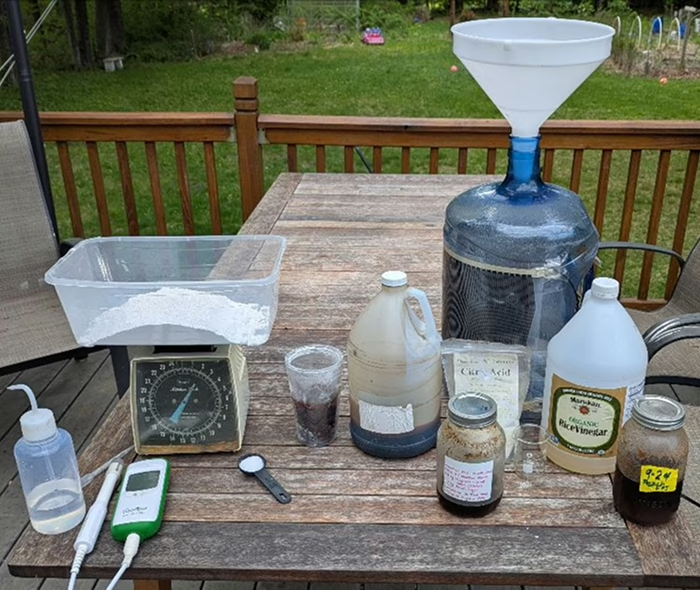
Biofertilizer setup for the extraction of calcium and silica
Measuring What Matters: Evaluating Soil Biology
As interest in microbial inputs grows, so does the need for practical evaluation tools. Farmers are increasingly using field-based indicators—such as aggregate stability, residue breakdown, and crop response—alongside emerging biological measurements.
Through the Microbes Grant, NOFA/Mass is working with farmers who are using tools like the microBIOMETER to better understand microbial biomass and track changes over time. These data, paired with management context, help translate biological theory into actionable insights.
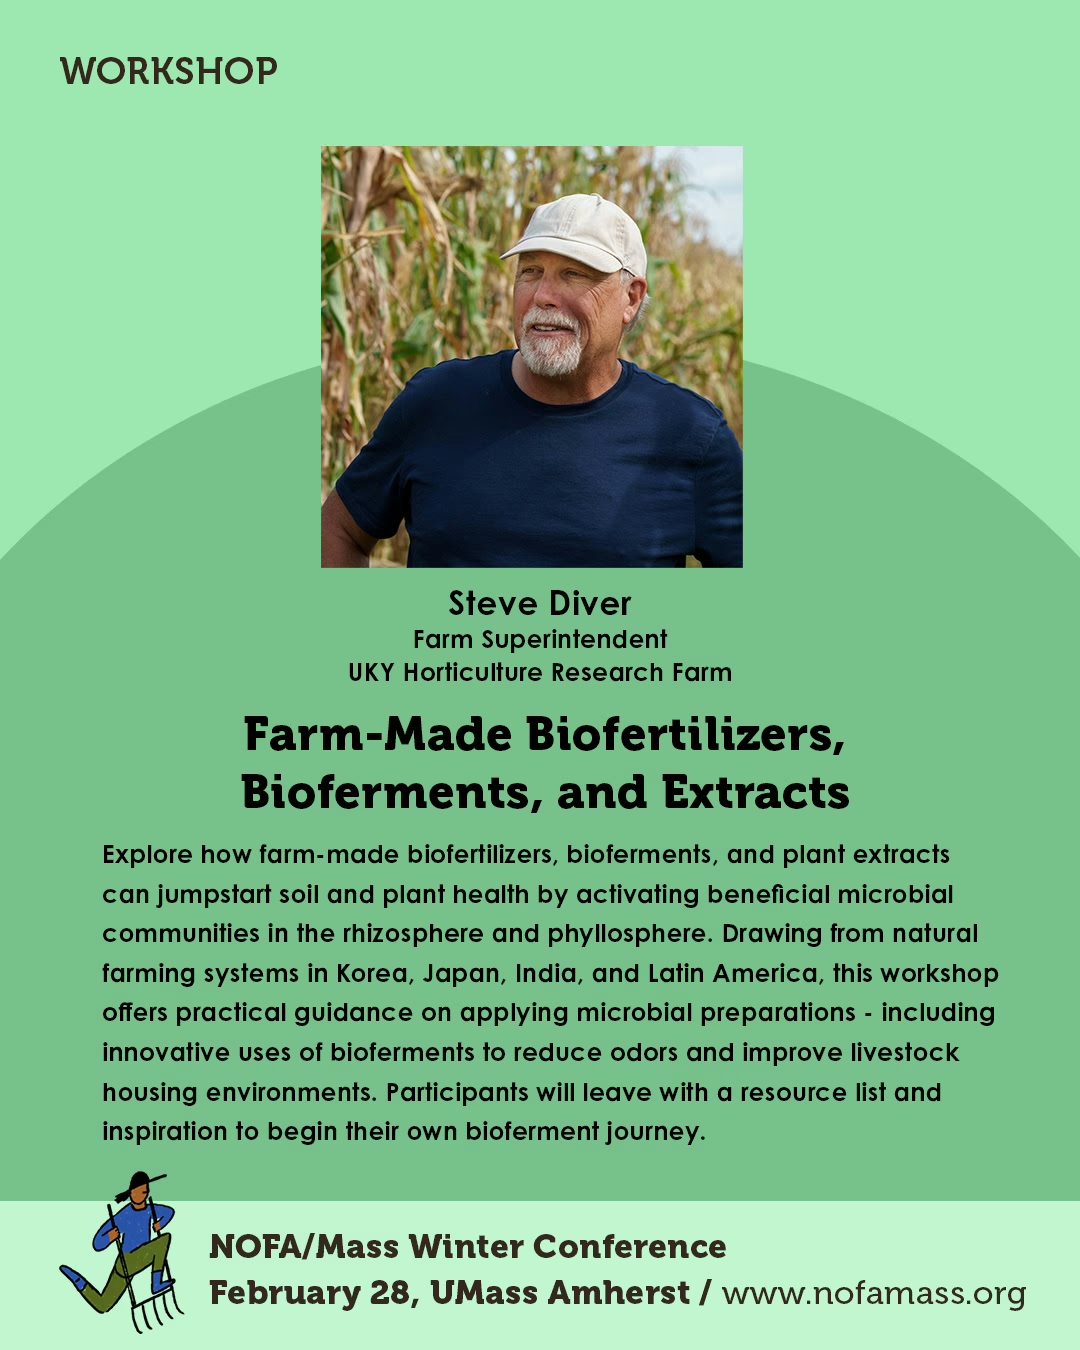
Learn More at our upcoming Winter Conference: DIY Biostimulants & Biofertilizers Workshop
To support farmers navigating these concepts, NOFA/Mass is hosting a conference workshop focused on DIY biostimulants, biofertilizers, and biopreparations. This session will place on-farm biological inputs in context—covering:
-
How different biological inputs function within the soil food web
-
When on-farm preparations may be appropriate (and when they may not be)
-
How global natural farming systems inform locally adapted practices
-
Risk management, quality control, and decision-making during organic transition
Rather than promoting recipes alone, the workshop emphasizes principles, intent, and integration—helping farmers make informed choices that align with their soils, crops, and goals.
Looking Ahead
This article is part of a broader Microbes Grant education effort aimed at improving farmer access to soil biology knowledge, evaluation tools, and peer learning. Future newsletters will feature farmer experiences, monitoring insights, and practical lessons from the field.
To stay engaged:
-
Additional Microbes grant resources will be made available through a
dedicated NOFA/Mass webpage as they are developed. -
Learn from farmers who are measuring and managing soil biology in real time
Healthy soils are built over time. Understanding the role of microbes—and how to responsibly support them—is a critical step in that process.
Farmer Article:
Know, and Test, the Viability of Your Seed
By Richard Robinson, Farmer at Hopestill Farm
Side Note: We are thrilled that Richard will continue to write for our Be a Better Grower newsletters for 2026. This particular article is a loved rerun well-suited for this time of year. Enjoy!
For the ambitious gardener, there is nothing quite as frustrating as planting seeds that never come up. You watch and wait, and wait some more, and wait some more, and…nothing. Precious weeks can slip away before you accept that you’re going to have to replant. For any crop, this is a nuisance; for some, like long-season tomatoes or late-season broccoli, it’s a disaster.
There are three keys to avoiding this disaster:
-
Store your seeds properly
-
Test their viability
-
Replace them when it’s time
Low temperature and low humidity prolong seed viability; a good rule of thumb is that the total of the two measurements should add up to no more than 100. So, for instance, no more than 60 degrees F and 40% humidity, or 70 and 30. I store my seeds in my unheated basement in a tight-sealing cooler, which keeps out moisture. It’s no Svalbard Seed Vault, but it seems to be a good system. You can store seeds in air-tight containers in the fridge or use a desiccant in your seed box.
How long should seed last? It varies quite a bit. Most seed suppliers have a chart like this showing the number of years the seed from different crops remains viable, but much depends on storage conditions. Members of the onion family should be replaced every year or two. Lettuce can last 4 or 5 years, although I tend to either double seed or throw it out after 3. Tomatoes keep for even longer; I haven’t seen any loss of viability in my Juliet tomato seed from 5 years ago, although I have reordered for this year.
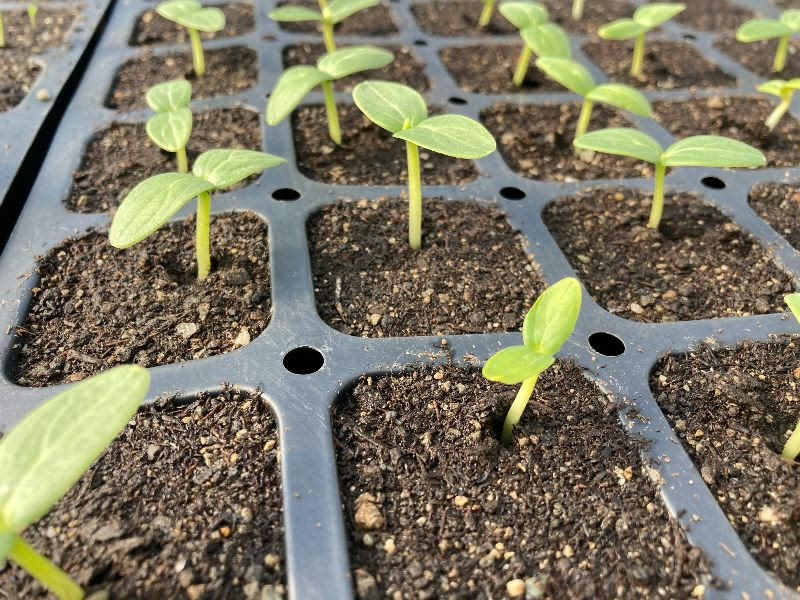
February is a good month to test viability for seeds you are unsure of. A simple test is to place ten seeds on a moist paper towel inside a zip-locked plastic bag, then place the bag somewhere warm that you can check frequently. The top of our masonry fireplace, which in the winter gets to about 80 degrees, is good for most seeds, and essential for stubborn seeds like peppers. It’s too warm for lettuce, though—lettuce should be sprouted at no more than 68 degrees. Parsnip, celery, peas, and spinach also prefer it on the cool side. Check the seeds daily. Most seeds will sprout within a week. If I see 7 or more sprouting seeds, I will use the packet. If 6 (and it’s expensive seed), I might risk it. Five or fewer, I re-order.